After the drawing, comes modelling:
Re-using assets:
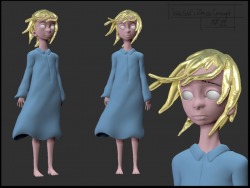
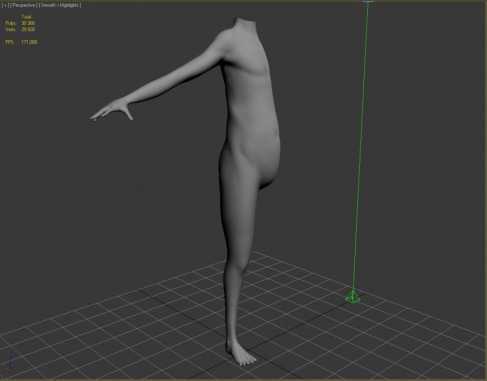
As I had the previous highpoly base-model made in the concepts stage, I went ahead and used this as a starting point for the modelling. Using Zbrush to move her into a more standard T-Pose.
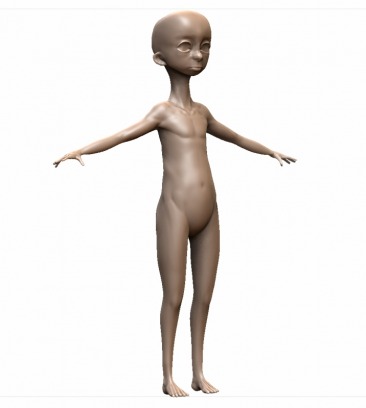
The below picture shows the mesh directly from Zbrush from its highest subdivision. As you can see, its quite a lot of polys to get such smooth surface.
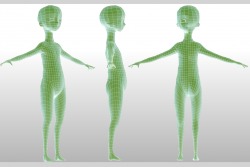
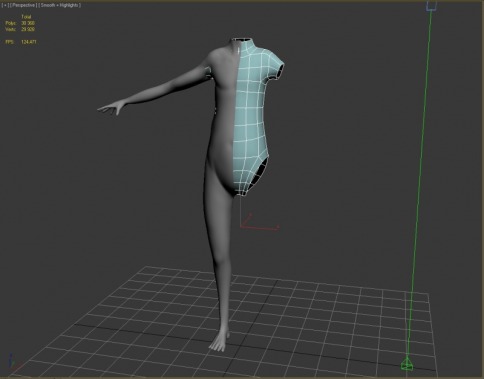
Next picture shows the Zbrush mesh at its lowest subdiv, to show how the polyflow was.
As I had the previous highpoly base-model made in the concepts stage, I went ahead and used this as a starting point for the modelling. Using Zbrush to move her into a more standard T-Pose.
The below picture shows the mesh directly from Zbrush from its highest subdivision. As you can see, its quite a lot of polys to get such smooth surface.
Next picture shows the Zbrush mesh at its lowest subdiv, to show how the polyflow was.
Polyflow:
This part is quite important in the respects that it is at this point you lay the foundation for good animation later. If you dont have your polyflow working in the directions you want, your animations will look weird as a result, simply because the mesh does not move the way it is needed to.
The second thing is that you save polys. Less polys, means less stress on the cpu, which again lead to a faster work pipeline in the animation process.
Production pipeline:
First, I'd like to talk a bit about my modeling process for this. I'll start off using MAX 10 for getting everything about the models shape right, using MAX's now inbuilt Polyboost tools. These tools allow for the building of a mesh OVER another mesh, in this case; a high-poly version of the girls body. This makes modelling quite fast and easy in the early stages of a model, and gives more time to spend on the "pimpin" up of the details.
The second part of getting our model animatable, was to take it back to MAX 09, and rig it there, as we opted for a Vray render engine not supported in MAX 10. Its faster than Mental Ray, and in my opinion, looks much better, therefore, this path is chosen.
Here we go:
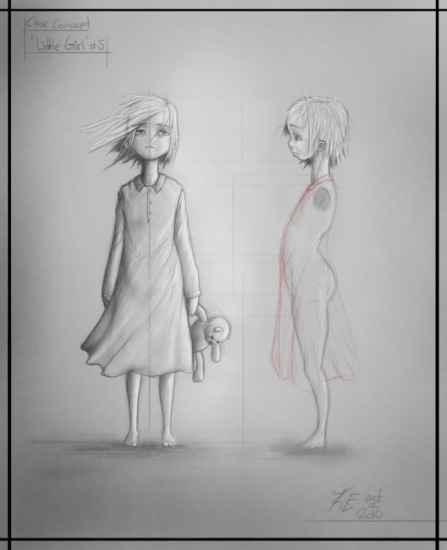
So, the concepts have been established, and we are ready to go with the start of the modelling process.
First up, is setting up the viewport for a good working environment.
First, I'd like to talk a bit about my modeling process for this. I'll start off using MAX 10 for getting everything about the models shape right, using MAX's now inbuilt Polyboost tools. These tools allow for the building of a mesh OVER another mesh, in this case; a high-poly version of the girls body. This makes modelling quite fast and easy in the early stages of a model, and gives more time to spend on the "pimpin" up of the details.
The second part of getting our model animatable, was to take it back to MAX 09, and rig it there, as we opted for a Vray render engine not supported in MAX 10. Its faster than Mental Ray, and in my opinion, looks much better, therefore, this path is chosen.
Here we go:
So, the concepts have been established, and we are ready to go with the start of the modelling process.
First up, is setting up the viewport for a good working environment.
As the highPoly version was good to use, I imported it into Max at a medium high subdiv, and cut of one half of the body, as it is just using up memory and rendering power in the viewport when having the full body there. And its simply not needed either.
Using my polytools to just draq polys along the surface, making the first general shape of the body, and just applying a symmetry modifier, Voila, You got yerself a full body :P Then using the cool feature of just dragging vertices on top of the highpoly mesh, creating a polyflow that is nice, even and optimized a bit better for animation purposes.


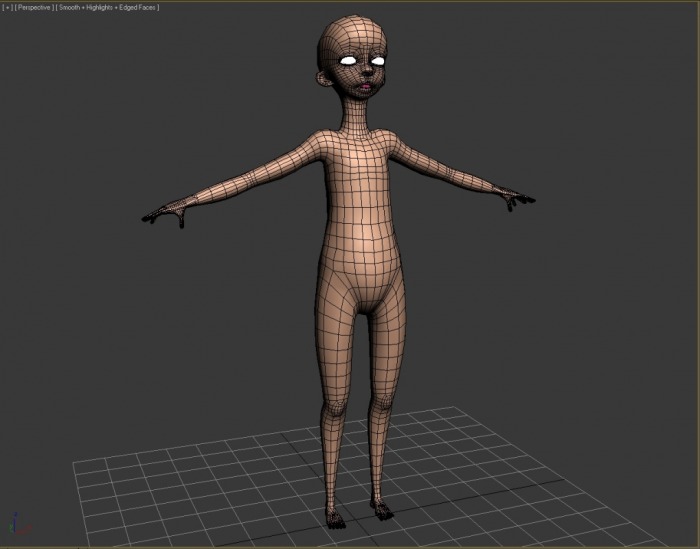
I feel I could have done better in the flow departement, but hey, whatever, it serves its purpose ^^
And I just like to add that FEET, are a BITCH to make, and look nice with a decent polyflow. Not sure I did the best job of it here, but so be it, it serves its purpose.
And I just like to add that FEET, are a BITCH to make, and look nice with a decent polyflow. Not sure I did the best job of it here, but so be it, it serves its purpose.
As you can see above, the head is applied there, so lets talk a little about that :P
The Head...
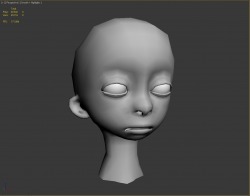
A process of its own in many ways. As a perfectionistic bastard that I am, I never get truly "happy" or "done" with anything. There is allways some more stuff that can be done, imo.
So getting to a level of semirealism, and still retain a little comical value to it, without dipping over to the Pixar side of things, is somewhat hard to do. But it is fun though and I learned yet a few things about anatomy throughout this. How things work, and how things correlate to each other. The differences in a child and adults sceletal buildup.
So getting to a level of semirealism, and still retain a little comical value to it, without dipping over to the Pixar side of things, is somewhat hard to do. But it is fun though and I learned yet a few things about anatomy throughout this. How things work, and how things correlate to each other. The differences in a child and adults sceletal buildup.

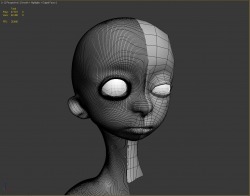
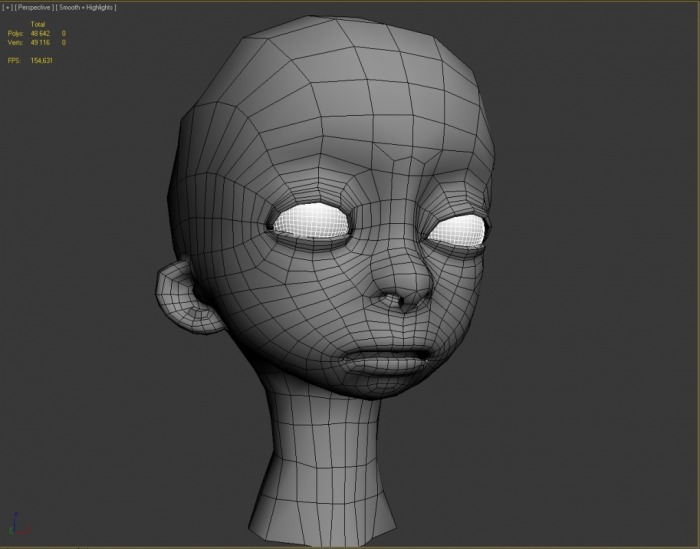
Here we see the polyflow for the face, from the first pass. And below you see the Zbrush face, and Max face beside each other. The difference is huge. Trying to rig something that polyheavy would be next to impossible, unless you got yerself a hugeass supercomputer of a calculating beast in your cellar.
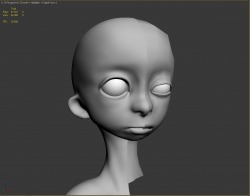
Anyway, moving on. More tweakage of the mesh, still not getting quite the result I was looking for.
Time to bring in some help, so I sent my version of the mesh to mr. Fusdahl, the Floater. He made some quick adjustments to point out a few of my errorz, one of which, was the fact that she had no jawline whatsoever ;P

Something that can be seen above here.
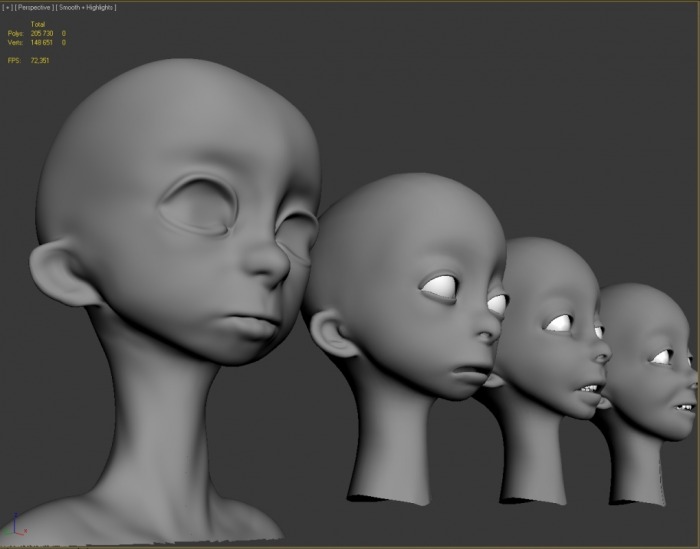
From left to right we have; Org. Zbrush head - First Pass head - Second Pass head - Fusdahl Head
As you can see on the two heads on the right side, the diference in jawline is very obvious. I didnt quite like the version Fuzzy made, but I got the jist of what to do differently, and what I could do to improve my model.
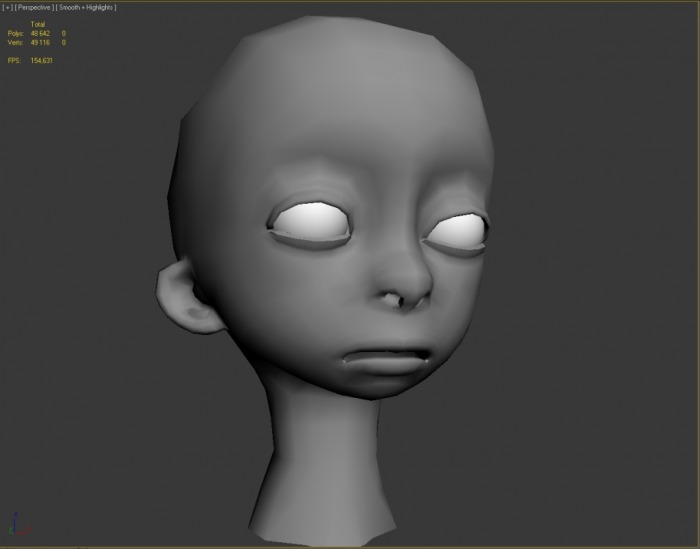
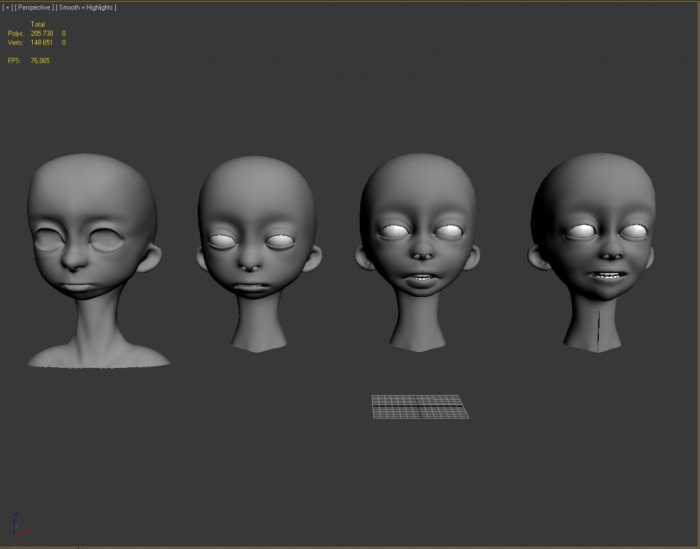
From there on I applied some of the things from Fuzzy's corrections. And below is the results for the final head shape. (NOT the hair...)
From left to right we have; Org. Zbrush head - First Pass head - Second Pass head - Fusdahl Head
As you can see on the two heads on the right side, the diference in jawline is very obvious. I didnt quite like the version Fuzzy made, but I got the jist of what to do differently, and what I could do to improve my model.
From there on I applied some of the things from Fuzzy's corrections. And below is the results for the final head shape. (NOT the hair...)
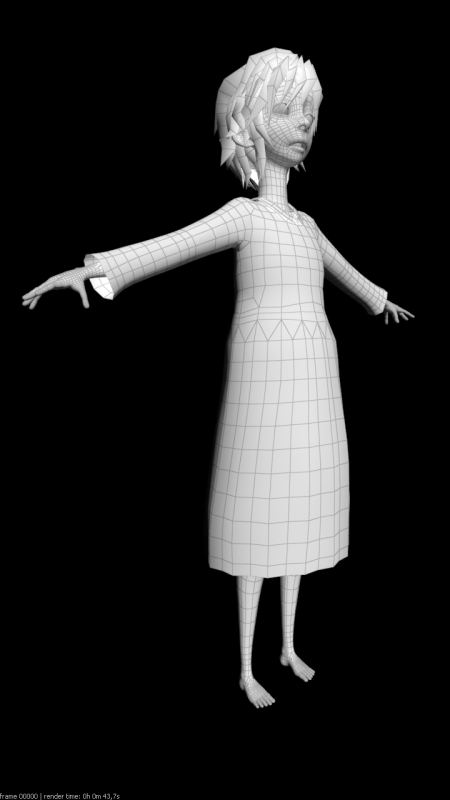
The dress...
Well, Im gonna cut this one short and simple... It was a bitch... Garment maker... #/"!% YOU!
Pain in the ass testing that finally ended up looking crap anyways. I really cant remember anymore if I just made a new dress, or used this one, and optimized it.
Well, Im gonna cut this one short and simple... It was a bitch... Garment maker... #/"!% YOU!
Pain in the ass testing that finally ended up looking crap anyways. I really cant remember anymore if I just made a new dress, or used this one, and optimized it.
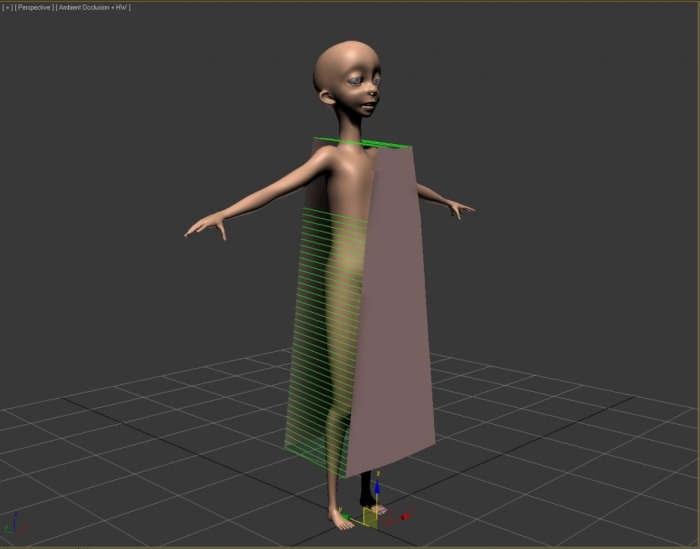
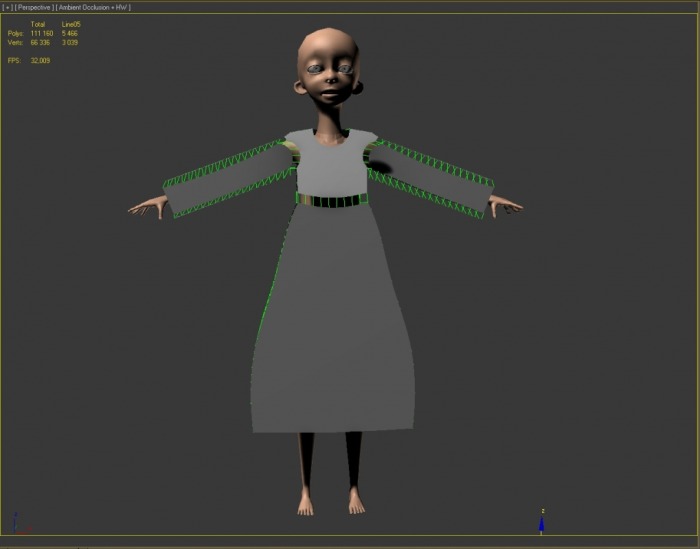
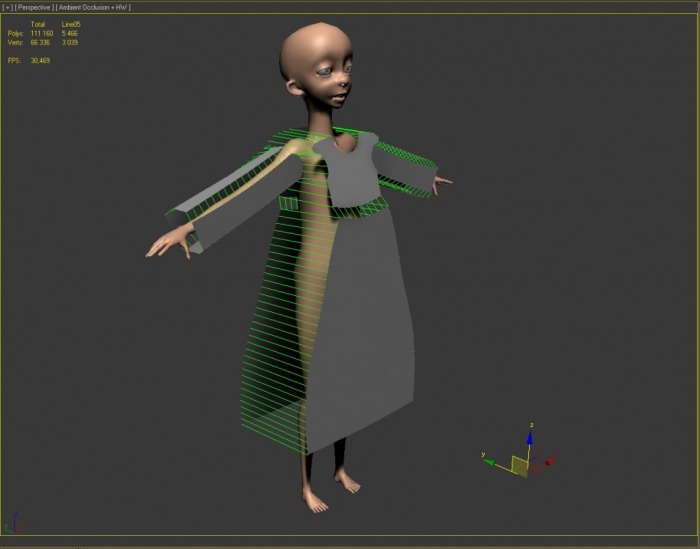

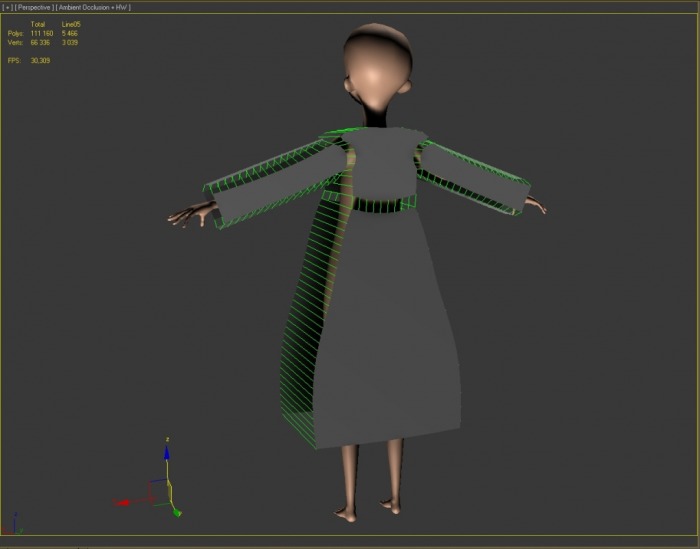
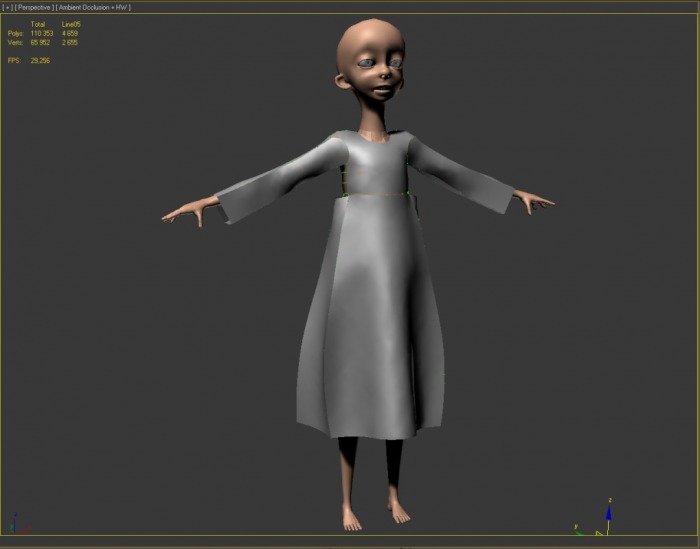
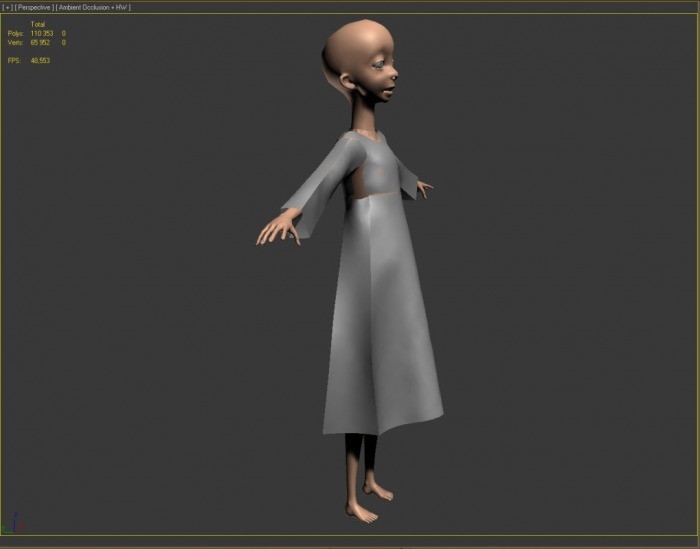
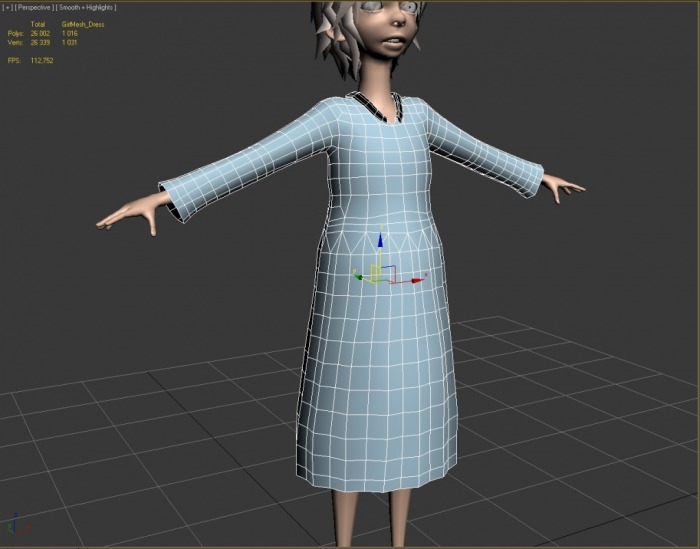
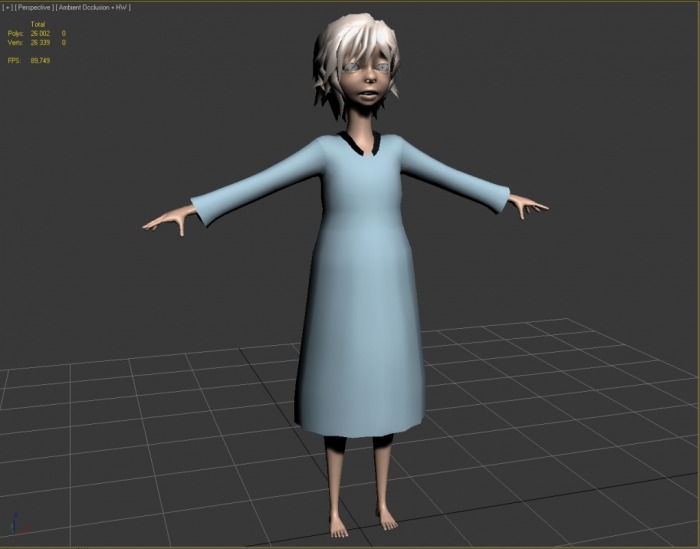
Final result for dress, would be this one. As we use the cloth modifier to simulate the fabric, more detail really was not necessary. A Tesselate modifier is needed though, to make the cloth crumple and deform better. And remember to put it BEFORE the cloth-modifier in your modifier stack...
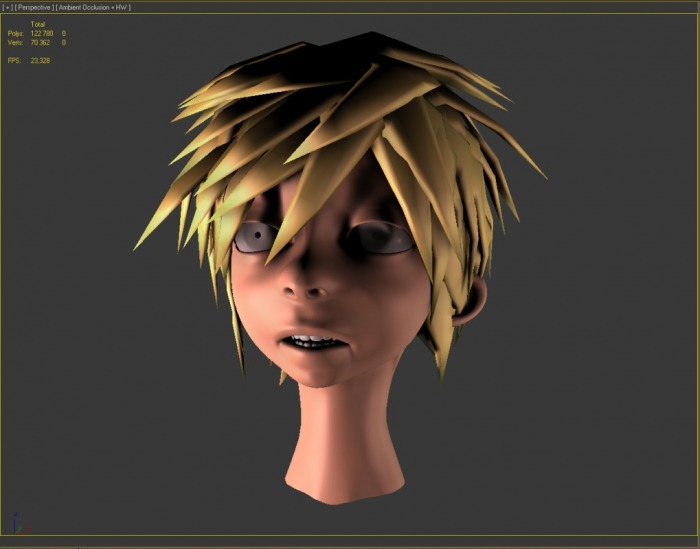
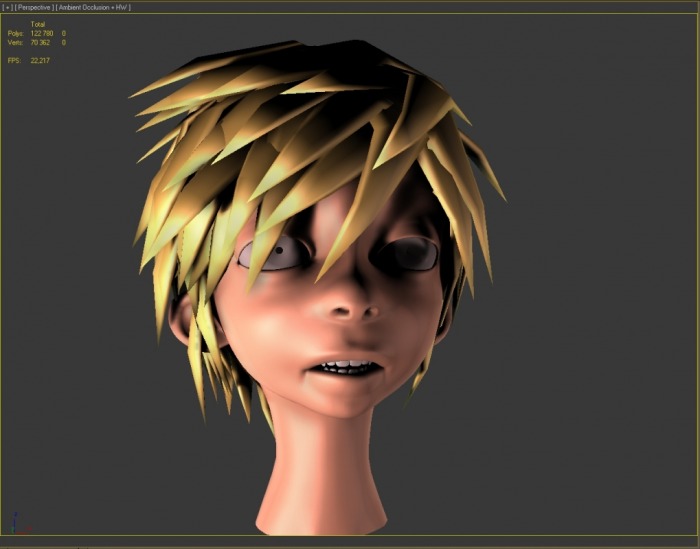
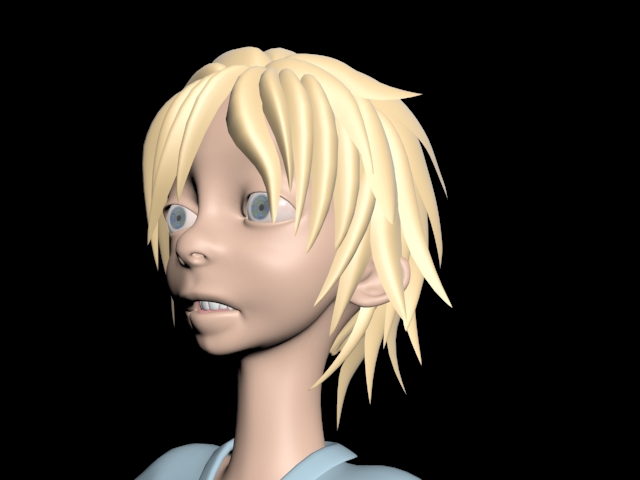
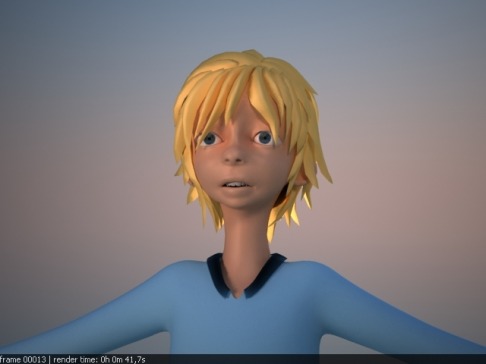
The Hair
Also, a process of its own, in many respects. What way to go for, what style, length and so on. Because there is so many ways to go for. As a group, we ruled out using any Hair and Fur modifier, as it would be to much to deal with simulationwise and such.
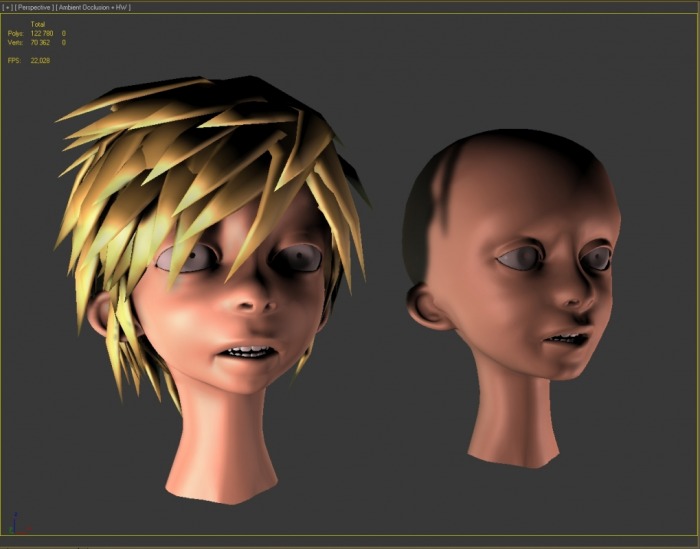
I tried a couple of different things with her, opacitys, mesh hair. But didnt quite seem to nail it, until I got some tips from one of the first-year students, Milliam Breien. Using a technique of folding a diamond shape poly, then dragging them into position. A few more hours of that, and her hair is complete ^^
Also, a process of its own, in many respects. What way to go for, what style, length and so on. Because there is so many ways to go for. As a group, we ruled out using any Hair and Fur modifier, as it would be to much to deal with simulationwise and such.
I tried a couple of different things with her, opacitys, mesh hair. But didnt quite seem to nail it, until I got some tips from one of the first-year students, Milliam Breien. Using a technique of folding a diamond shape poly, then dragging them into position. A few more hours of that, and her hair is complete ^^

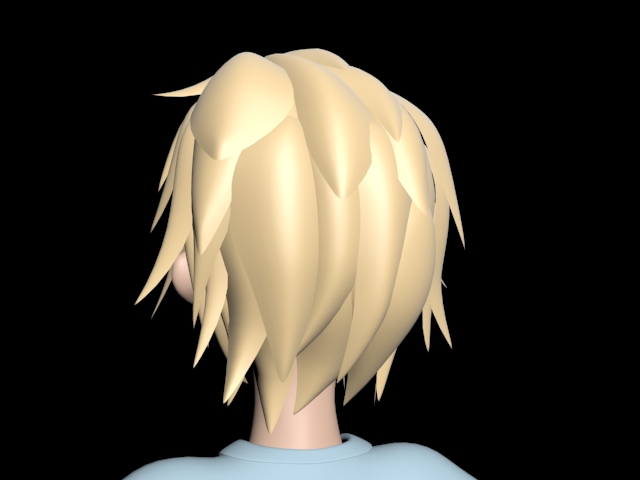
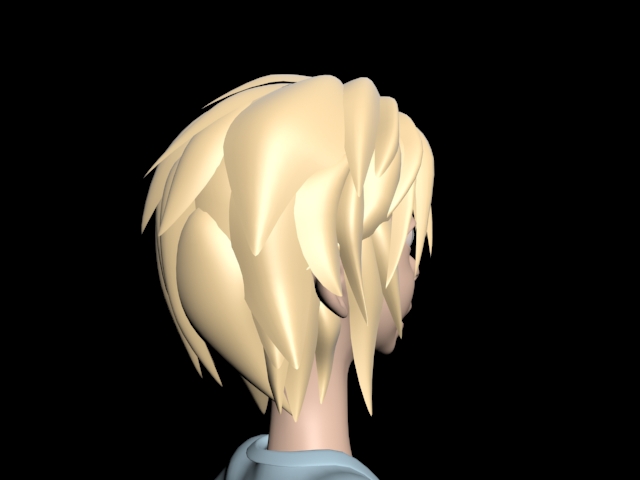

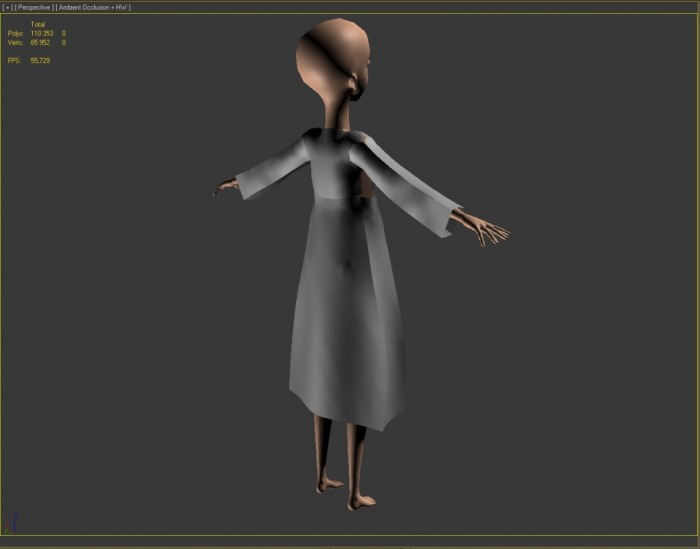
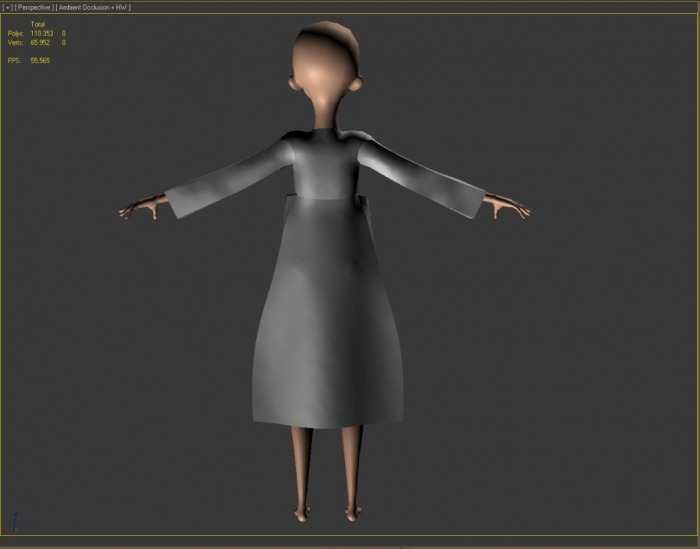
Here is a couple of renders of the finished mesh with a Wire material.

In the end, I guess thats all it is to say about this modeling process ^^
 RSS Feed